

Loaded Mini Album: Challenge Here
To clarify the challenge as the front and back covers are for you to choose how to decorate and to add or not add a photo(s). For the current challenge pick any two inside pages in the album. The fastest pages to complete are pages 3 and 6 that have the Belly Bands and Tags. But you can do any two pages.
The second part of the challenge will be posted on May 10th You will construct your remaining pages. In the third part, on June 1st and close June 30th you will have completed the entire album adding your embellishments and photos if you wish. I will also show you how I construct my Jewelry element. If you finish before each stage of the challenge take pictures and hold until next part. You are not required to add pictures to the album as mine will have no pictures as it is a present to my niece. I also will be sending embellishments with the album for her to decorate. I will then have little embellishments on my pages. So minimum embellishments are fine if your sending embellishments with the present. I'm trying as hard as possible to give a whole lot of latitude in that third part. So keep that in consideration. You don't have to, but it would be fun if you add your entries here for the 1st Stage due on the 9th.
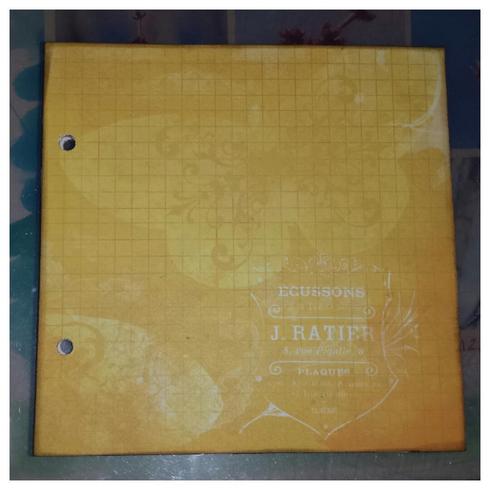
Album Cover Construction
1) I used the WRMK Chipboard from a package of 12x12 Sleeves
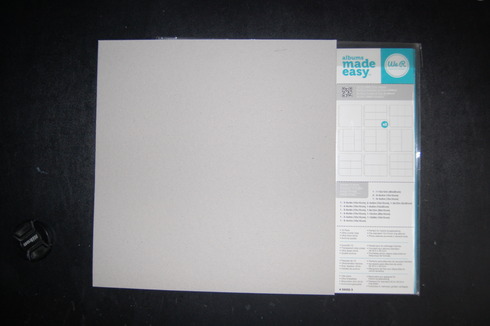
2) The piece is larger then 12x12. I needed to get the chipboard in my trimmer! I took two craft mats placed the chipboard on one mat and the other on the top. I had 1/3 to half inch. I patiently cut the chipboard. Now down to a workable size. Cut 4 6x6 pieces with my remaining large piece. These will be the covers and pages to the album.
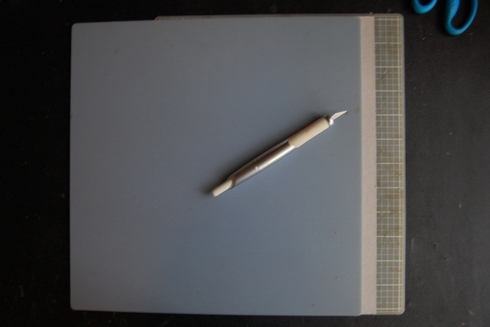
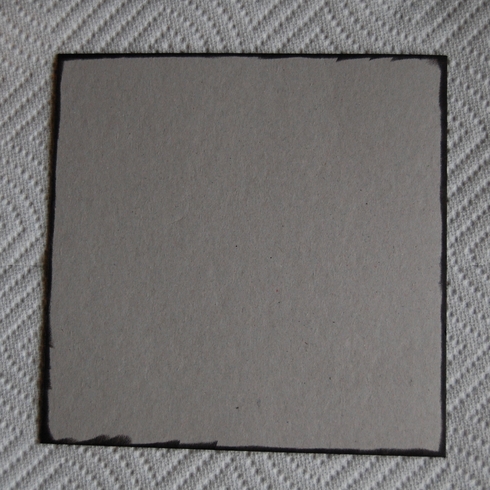
3) Ink edges of each piece of chipboard. I used a permanent Ink
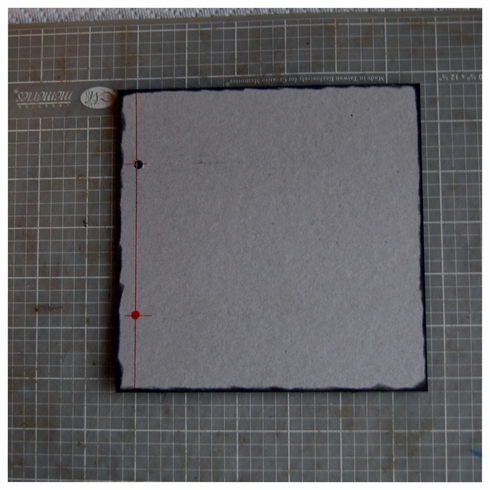
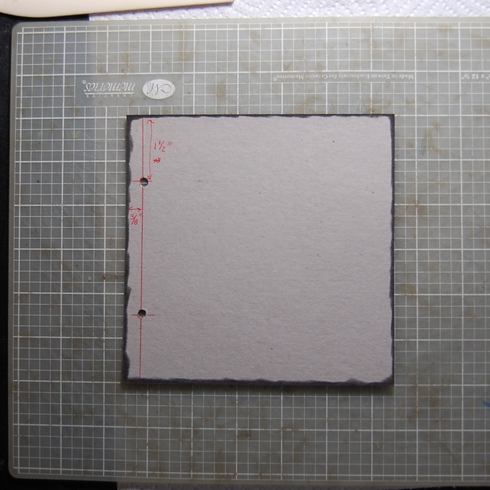
4) Punch holes for rings. Hole Punch, Or a Crop-a-dile (either handheld or Big Bite) will work. Grab a scrap and punch a hole in it as a template.. Take one piece of 6x6 chipboard and measure two marks at 3/8 inch and draw a line top to bottom using a straight edge. Once that line is drawn measure down 1 1/2 inches to get to your intersection and draw a line. To help line up my Crop-a-dile Big Bite, I took the template with hole in it and colored in the circle then punched. My eyesight gives me fits and this really helped.
6) Those using a binding machine please adhere cardstock to 6x6 chipboard pages before you punch your holes (see below). You may need to make needed adjustments to either the machine or measurements of the paper elements in the album, or slightly alter the size of your chipboard to use my paper measurements for the album. I just do not know enough to help you more then what I have written because I have never used a binding machine.
You will need 2 12x12 sheets of cardstock to adhere to the chipboard cut to 6x6. I chose black and a softer green that matches the line of pattern paper I am using.
7) Use this first piece of chipboard with holes as your template for the other pieces of chipboard. No more measuring. I adhered and completely covered the entire chipboard in Scor-Tape on one side of all four pieces.. Reasoning: Your pages will have much more stability. It's amazing the first time you do this. You can choose another adhesive if you wish. The directions will be for Scor-tape.
Remember, Remember to score your Scor-Tape.
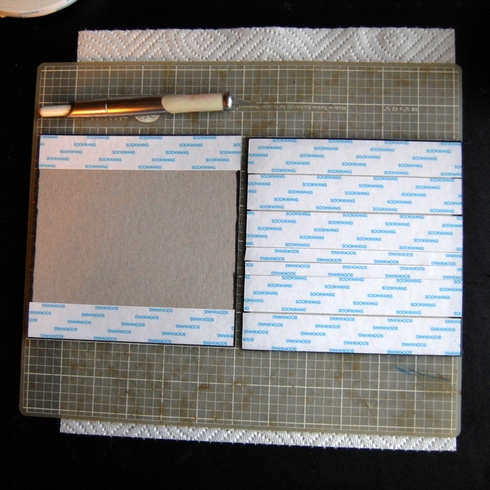
8) The fastest way I found to cover chipboard with score-tape is to work from outside in. I have rolls from 2" down to 1/8 inch in. I start on the outside and work my way in going edge to edge on opposite sides and switch to smaller dimension rolls as I need to. See Photo. I flip and trim with craft knife. after each piece is lade. I leave about a 1/16th of inch between each piece of tape for expansion. Hope it showed up on photo. Only cover one side at a time then adhere cardstock. Cover both sides with Scor-tape and everything slides around.
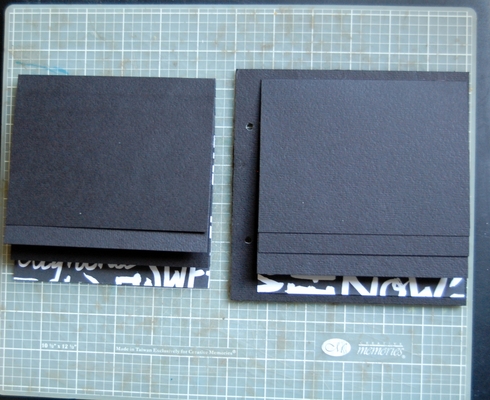
8) Use your first page as a template. To punch holes in other chipboard take bare chipboard to bare chipboard of template. Punch your holes in the other pieces of chipboard.. Take care to hold tightly when punching. Now cover the bare side with scor-tape as you did the first side . make sure you have a good stick on the cardstock no matter what adhesive you use. Punch holes each time you add a sheet of cardstock Mine came out perfect punching the holes this way.with my Big-Bite. This was the hardest part of the entire album.
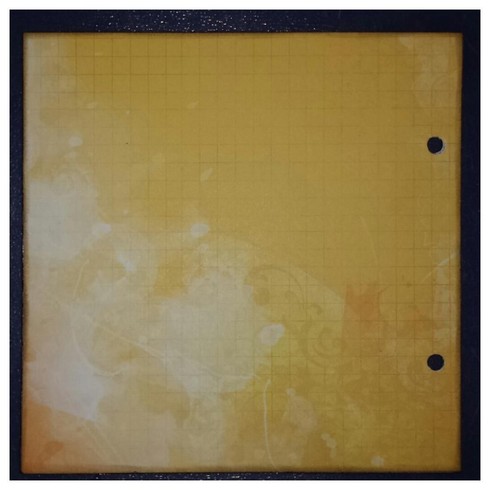
9) Pages are done. Took me 45 minutes..
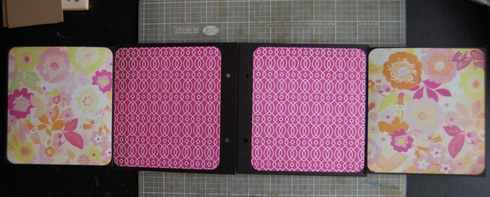
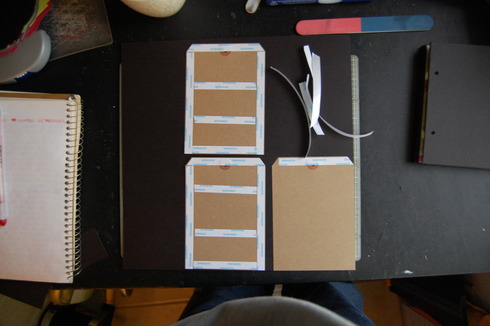
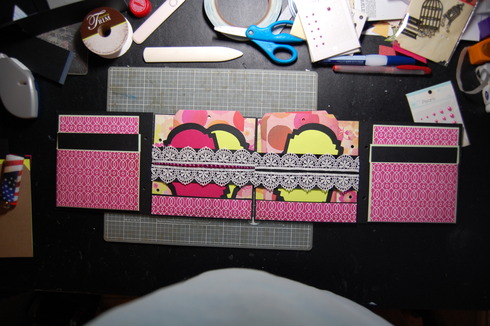
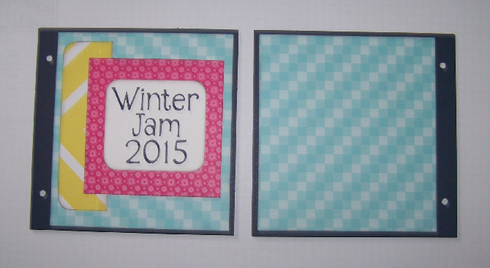
10) Next photos shows the completed construction of the inside of both covers.
Inside front and back. Cover. We are going to build a flap. Super simple super easy! The flap opens to the outside. Cut two pieces of card stock
a) You need 2 pieces a of neutral cardstock cut and scored the same ~ 6 1/4" W x 5 3/4" L and score 1/2" on on the width
Score short side's at 1/2 inch. Adhere The short edge to the outside edge of the covers Pages 2 & 7. Your flap will open to the outside of the cover. In the photo the floral piece of paper measures 5 1/8" W x 5 5/8" L. The pink geometric paper measures. 5 1/8" W x 5 5/8 L. You will need to cut two of each. Adhere.
Close you flaps and we will construct the pockets.

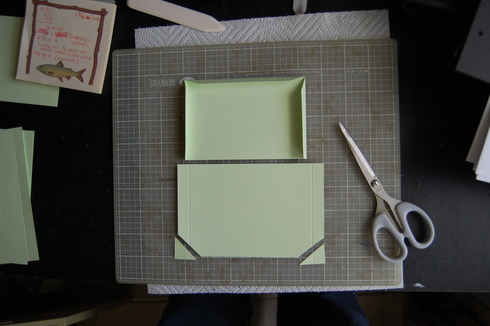
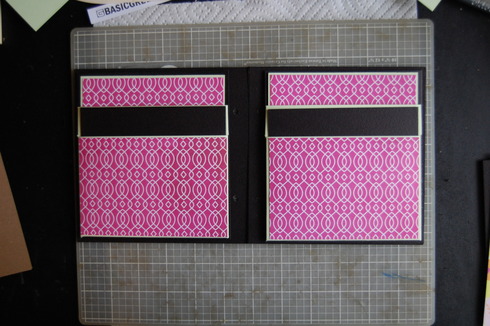
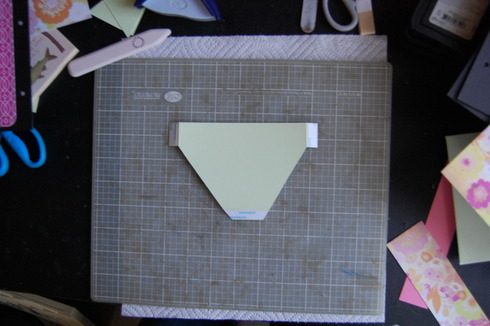
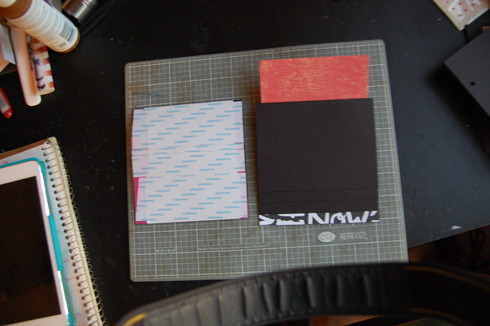
b) You need four pieces of of colored or neutral cardstock (your choice) cut at 6 1/4" W x 4" L. score at half inch on one 6:inch side. Score both short sides at 1/2 inch. Use bone folder to crease. On two pieces meter corners so not to overlap when folded under. (This is piece A). Stay just to the outside of the + of your intersection when you cut so you have a true corner. Do not allow score tape on fold. I used 3/8" score tape here. Should like photos above.
c) On the other two pieces measure 1" down draw a line to edge on what will be the inside of pieces. Find 2" center at edges of center cut as show in photo. Ad Scor-Tape as shown. I am slightly off center but it will not matter. Again I used 3/8" score tape on areas shown. They will fold under. (This is piece B.)
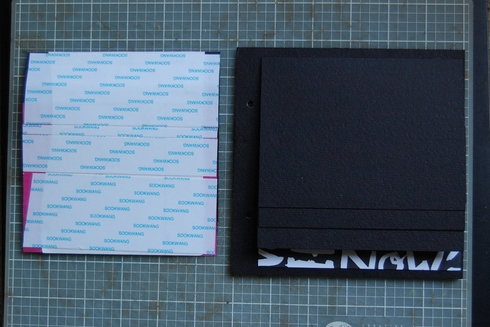
(e) Take piece A

Add to the bottom of the outside of flap.
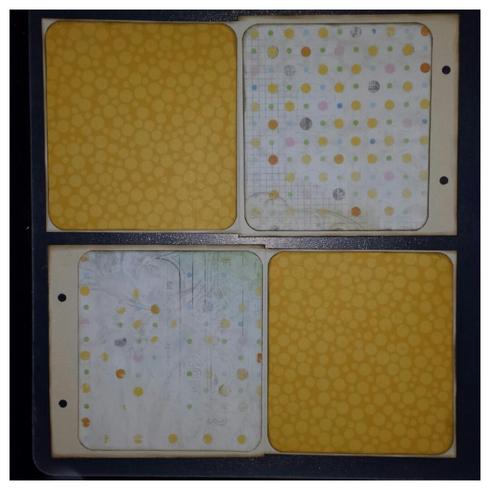
Take piece B. You will slide piece B gently into the pocket of Piece A until it naturally stops. I kept my pinky in the pocket while doing this. Gently press area down around the areas of score tape and it will adhere itself. Now make two 5:x4" cards that will tuck into what is now in the top pocket. To get two photo spaces I adhered two pieces of pattern paper and adhered to front and back, 1/8" smaller then the cardstock. For the bottom pocket (middle space in element) make a two 5" x 4 3/8" card to fit in pocket. One to fit in front pocket. Both should make as double sided cards. I wanted to leave just a solid piece of cardstock but get the texture of the Black O/P on both sides so I cut a total of 4 pieces and adhered two together. It gives strength to the photo mat, too. Repeat the process for the inside of the back cover. The total assembly on front and back flap will hold seven photos journaling or design spaces. Both inside front and back covers have 14 Spaces.
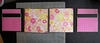
Now do the same for the inside of back cover but a mirror image. Scroll up to see the completed cover again.
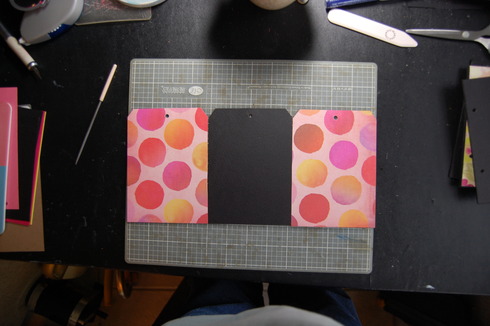
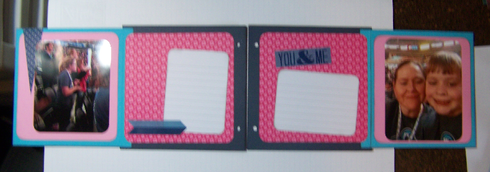
11) Construction of Page 3 and 6.
a) Again mirror image of each other. Please note pattern paper not adhered in this photo!!!
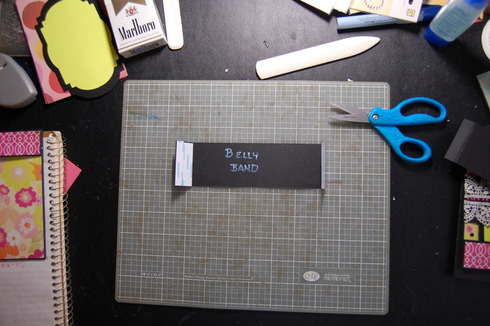
b) Cut two pieces of pattern paper 5 7/8" W x 5/ 78" L. Set aside. At this point you need to consider how you will decorate the Belly Band. I chose to use trim and pearls, but this is your creation to do as you wish. You can use trim, lace, pattern punches, etc. This is how I calculated my Belly Band. My trim is one inch and I wanted a slight overhang of trim so I cut a piece of neutral card stock at 2"x 10" This gives space to slide my tags or photo mats.
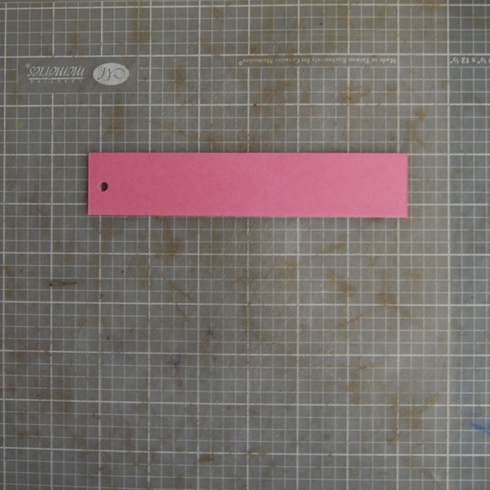
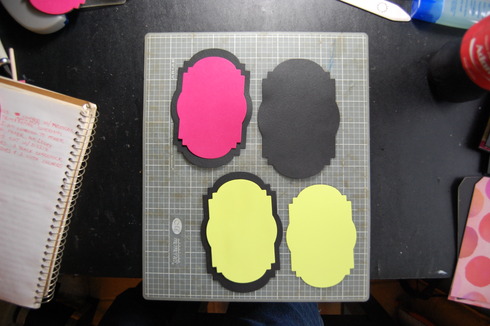
c) Tags and or Photo Mats. Again this is totally up to you on how you wish these photo spaces to look. I used Inkessentuals # 10 tags cut to a length of 5 3/4 inches or you can make your own at 4 1/8" by 5 3/4". Another option is to die cut your tags. In my example I chose to use the two larger Sizzix Framelt Dies I have. You can use any die you wish or use any electronic machine to cut a die. With the dies I cut double the amount of the largest size to adhere together to strengthen my photo mat. However you chose to do this you need six total tags or die cuts (photo mats).
d) Place 3 tags overlaping on your craft mat in a six inch space. Place one piece of the paper cut above and make a mark on either side and score. Then place the 2x10 inch paper, Belly Band, on top centered. Press down slightly with out moving the paper and make a mark on one side. Do the same on the other and this is where you will score on the marks. Do the same with the second Belly Bands.
e) To adhere Belly Band and the two pieces of Pattern paper to cardstock. Place Scor-Tape or Adhesive to both sides of flaps only on Belly Band. Make sure if using Scor-Tape it is not into the fold. Take inside edges (flaps) and attach to one sheet of the pattern paper wrong side up by folding over the flaps. Make sure centered. Add more Scor-Tape to off side of page. Then adhere entire page right side up, remove strips on Scor-Tape and place on page.
My apologies I do not have a photo. I adhered my pattern paper to both pages before the process above and I had to cut into my album. You really do not want to do that!!! LOL...it was early one morning and I knew I couldn't do it and did it anyway...LOL!
f) Bottom pocket. Constructed just like the pocket on the inside covers. Dimensions are: cut two pieces cardstock 7" x 1 3/4". Score each piece on the 1/2" on one long side and 1/2" on both short sides. Trim 45 degree corners just like the pocket on inside covers add the adhesive and place at bottom of page. I added pattern paper on top of pocket with 1/8 inch borders as I did on front cover. To decorate trim I used a liquid glue that dries clear to my belly band added my trim and pearls. The glue I have is Mono-Aqua. How you decide to do this is just as I wrote above....Your Way! I am sure everyone will do something different.
Photo of finished page:
Don't laugh to hard....thought I had enough Pearls to do this and didn't so one side not done!

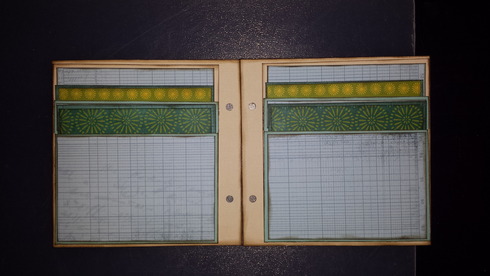
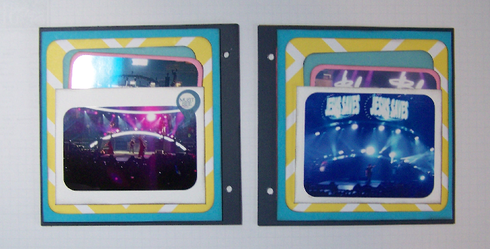
Now for the two center pages. Pages 4 & 5.
This is a Waterfall Element on both pages. I had never done one before so I found an excellent tutorial on You Tube. Really quick and easy.
In trying to build it right on the page it didn't work well at all. Each Waterfall should be built exactly as she has done in the video. My suggestion is get a very thin piece of pattern paper. Flimsy kind like way back when.....just a scrap. Here's the measurements of what you will need:
1) a scrap of flimsy pattern paper at 5" W x 8" L
2) Base piece of pattern paper you are using: 5 1/4" W x 4" L
3) Cut 3 pieces of neutral cardstock at 5 1/4" x 4 1/2 L, with 4 1/2" at top of score board score at 1/2"
4) Add your pattern paper as in video. Trim a quarter inch if you wish to have a small frame around your pattern paper if not build your Waterfall with pattern paper instead of cardstock.
This is for one Waterfall element. You need to make two elements so double the above. See photos.
You Tube: https://youtu.be/CXEturnO2z4
Here's my photos:
Show's flimsy paper attached. I then cut it off with my craft knife and the second with score tape on back....yes I wasn't paying attention to my tape, I'll add a little liquid glue.
This shows flimsy paper cut off with craft knife.
Next photo shows one mounted and the other yet to be mounted.
This is it...as for construction. Now your ready to make this album your own. Don't forget to enter it in each part of the challenge.
My apologies again for my lack of technology knowledge in getting this all up in one piece.


